Learn to make mods for Farming Simulator 25
Learn to make mods for Farming Simulator 25
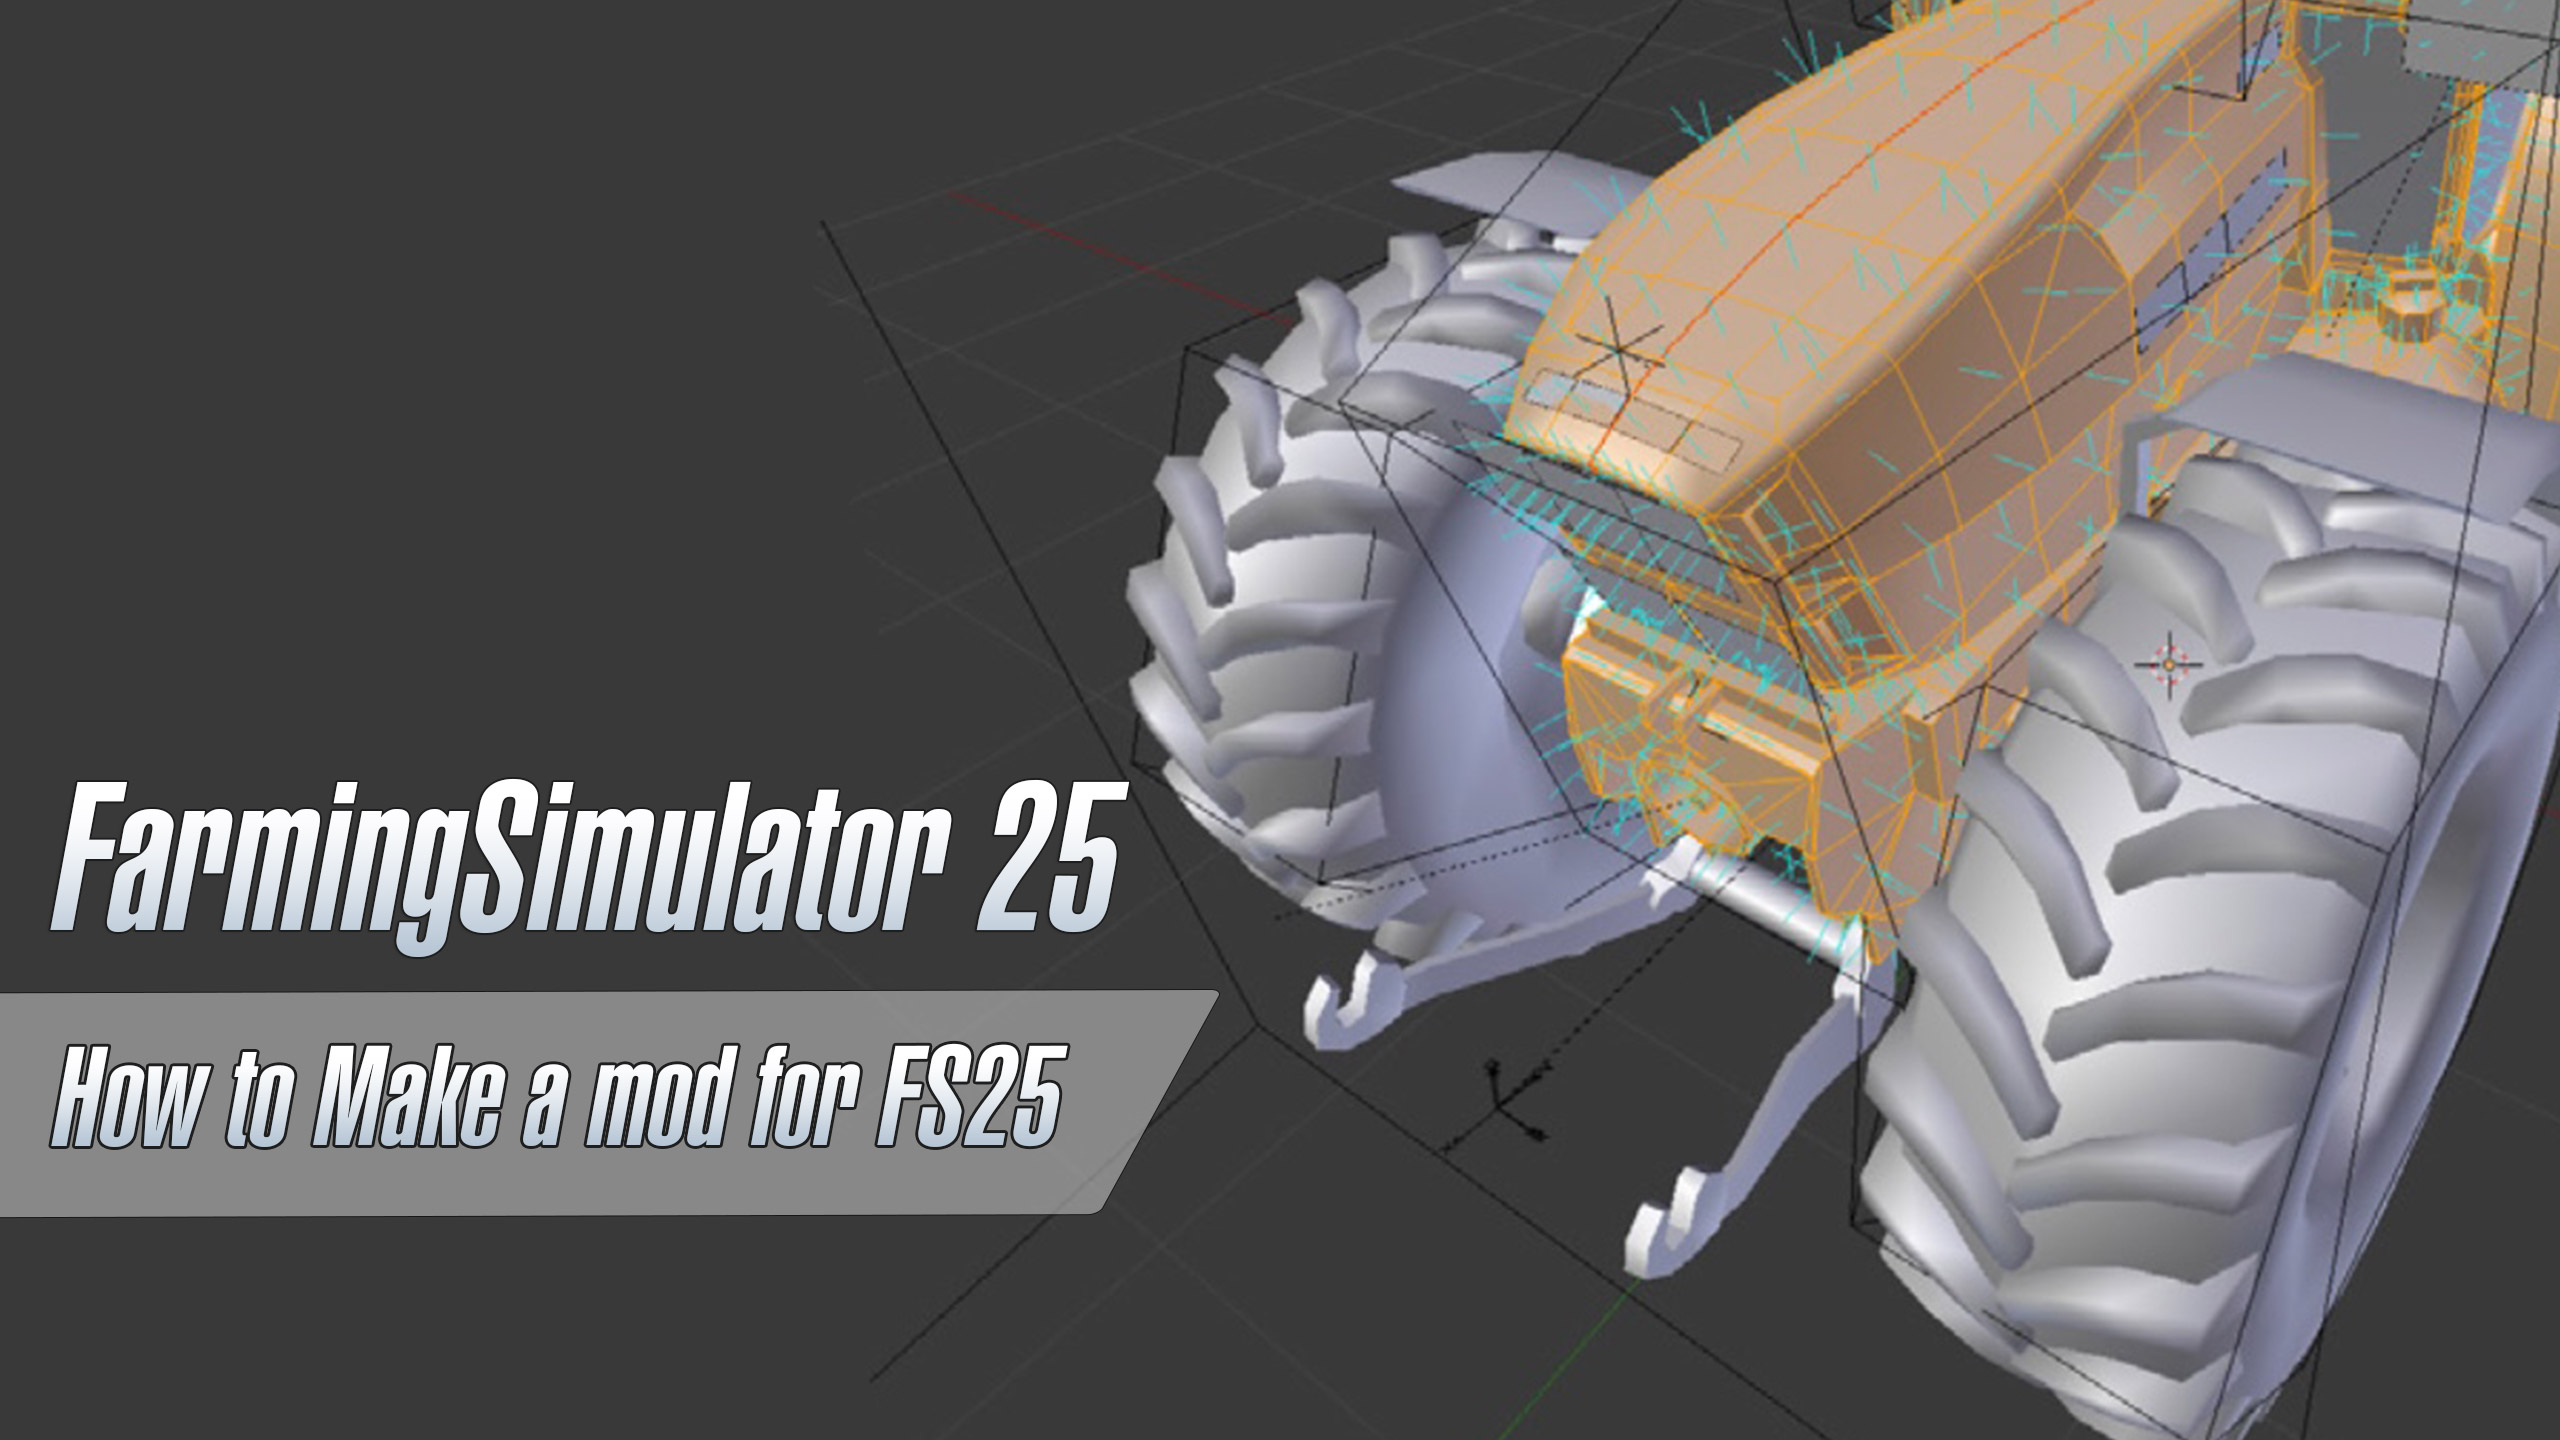
Are you still new to the world of modding, but are you looking to learn how to make a mod for Farming Simulator 25? This article will give you a general guide on how to do it and help you understand the basic requirements and needed tools.
Just remember: this guide is for beginner users only. We won’t explain how to edit existing mods in-depth or discuss more advanced tasks, such as creating a new map. This guide focuses on basic assets only. It’s also worth noting that while making mods for Farming Simulator 25 is not overly complicated, it can be lengthy. Patience is required.
We can’t tell how long it will take until you become an FS25 modding master. There are plenty of factors, such as the previous skill you might have, the amount of work you’re willing to put in, and simply how good you are at learning new things. From what we’ve experienced, with a few hours of practice a week, it would take around half a year to become pretty skilled in making fully ready mods for mainstream use. We’re talking about actual advanced machinery!
So yes, six months is a good chunk of time, but learning is a long-term process that brings many good results after a while. The more you know, the easier it is to get better. Everything pays off in the end!
3D models for Farming Simulator 25: The basics
3D modeling is the most important part of making FS25 mods. That makes sense: after all, each model in the game is three-dimensional.
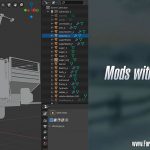
For 3D modeling, there’s no better available mainstream tool than Blender. It’s free software that’s used for more than just Farming Simulator. If you want to get into 3D modeling, learning Blender will be a massive career boost. It does take some time to get used to it, so stay patient and allow yourself to make mistakes. Take it one step at a time.
The Blender community is massive, and there are plenty of online tutorials you can learn from, both in text and video format. You can learn Blender however you want and then practice by making FS25 mods. It’s good practice!

Blender also has introductory tutorials, a good way to learn the software. You’ll find they cover things such as:
- Adding and removing objects
- Selecting objects
- General user interface tips
- Model meshes
- Editing meshes
- Extrusion function
- Loop cuts and edge loops
Watch a video tutorial by “F S Gaming” to understand more about the Blender tool:
If some of these things sound confusing, don’t worry. There are plenty of ways to get yourself familiar with everything. If you want to focus on the things most important for making FS25 mods, look at the basic introduction, interface lessons, and modeling – because that’s what you’ll do.
How do I start making mods for Farming Simulator 25?
Once you get comfortable with Blender, you must get familiar with modding the simplest objects. We’re talking about something incredibly simple, like a bench or a stool. What matters is that there’s very little detail.
Keep realistic about your goals. Whatever mod you make, it shouldn’t be complicated. As long as you finish your first basic mod, keep going a bit more complex, learning more and more along the way. You will see yourself improving in no time.
Here’s a Blender tutorial by LAMBO MODS for Farming Simulator for you to check out:
Don’t forget to optimize your FS25 mods
Like any visual software, Blender requires a powerful computer. Stay aware of your PC’s limits, optimize your mods accordingly, and don’t work on a project that is too powerful for your hardware.
How do you avoid lag when making Farming Simulator 25 mods?
Optimizing your hardware is very important. Trust us—if your computer is lagging when you make the mods, you will soon get frustrated and throw all of your progress away. By optimizing the mods, you will reduce lag and performance issues.
FS25 mod makers usually have issues because they put too much detail in their mods. This is why it’s crucial to keep them simple. While realism is the ultimate goal, it won’t pay off in the game. You can practice if your hardware allows it, but that’s about it.
Mod-making balances the realistic finished product, your PC’s capabilities, and the game’s requirements. Once you get better, you should find that balance yourself.
What are the requirements for creating FS25 mods?
For the best example of top FS25 modeling, check out the GIANTS ModHub. There, you’ll find plenty of mods officially approved by the developers. This makes these mods the gold standard of what you should aim for in quality and optimization. It’s a good way to get an informed look.
For detailed guidelines on the specifics, check out the official ModHub guidelines. They’ll help you to ensure your mods work well within the game and function as they should. With the right mod, it can become popular between the players.
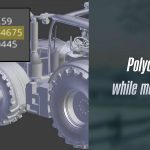
There’s one specific tool and a number you should be aiming for when making the mods. With a Polycount tool, you can see how many triangles are in your mod. Each mod of FS25 is made up of thousands of them.

40000 triangles are 40000 polys. Here are the recommended guidelines on how many maximum polys should you aim for in each type of mod:
- The recommended number for trailers up to 60000 polys
- The recommended number for harvesters up to 150000 polys
- The recommended number for attachments is up to 40000 polys
- The recommended number for tractors up to 100000 polys
Make sure to keep everything balanced
You might want to make your mods as beautiful and realistic as possible. However, balance is the most important part. The most detailed version of a simple tractor can potentially have a few million polys. Imagine trying to run that in a game that works on 10-year-old hardware. You get it.
When making mods, focus on the most important parts and avoid going overboard with detail. This will save you much time and be kinder to the gamers’ resources. But you might find that some mods fit the poly standards yet still look almost photorealistic. How does that work? It’s all about the high and low poly mods.
High and low poly Farming Simulator 25 mods
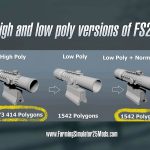
There is a way for people to make incredibly detailed mods yet manage to fit within the standards set by the game’s developers. You do so by making two different versions of the same mod. One is incredibly high poly, and the other is low poly. You will also require a regular map. Here’s what the process is like:
- When making a mod, start with a high poly mod.
- Then, use the high poly mod to make a low poly mod.
- Create a normal map and create an ambient occlusion map.
This way, when making a high poly mod, you don’t have to limit yourself. Simply make the mod you wish to make with as much detail as you desire. Once the mod is added to the actual game, it will look very high quality, even though those details won’t exist in the game itself. It’s a smart workaround!
The process might initially sound complicated, but once you do a mod or two like this, you can enter the big leagues and start making some photorealistic-looking mods.
Farming Simulator 25 mod-making process: the conclusion
Making high poly FS25 mods is a complicated process that requires understanding the game’s internal system and learning Blender. Luckily, there’s a lot of help online that can help you become better. Serious pros like Chris Plush from CG Masters make a lot of great content, which you should check out.
You don’t need to look specifically for FS25 mod-making tutorials. The system behind mod-making is similar to previous games, and there’s a lot more to learn.
You will be ready to make professional mods when you match MJ Modding’s ability to make the most basic models—like a simple Shed. See his videos and challenge yourself.
Using i3dexport to use Giants Editor
If you wish to showcase your mods to the wide Farming Simulator community, you will need to export the mods to the Giants Editor. Once you’re done with your first FS25 mod project, simply add the textures and send it for approval to the editor. We will cover this topic in a different article. Good luck with your new mods!
Author: farmingsimulator25mods.com


