Swather Tedder Plus v1.1.2.7
Swather Tedder Plus v1.1.2.7
Automatic detection of the number of rotors and arms, with spare parts consumption adjusted accordingly. If detection is not possible, default values are used.
swader_tedder_plus – Update 1.1.2.7
Changes since 1.1.2.6:
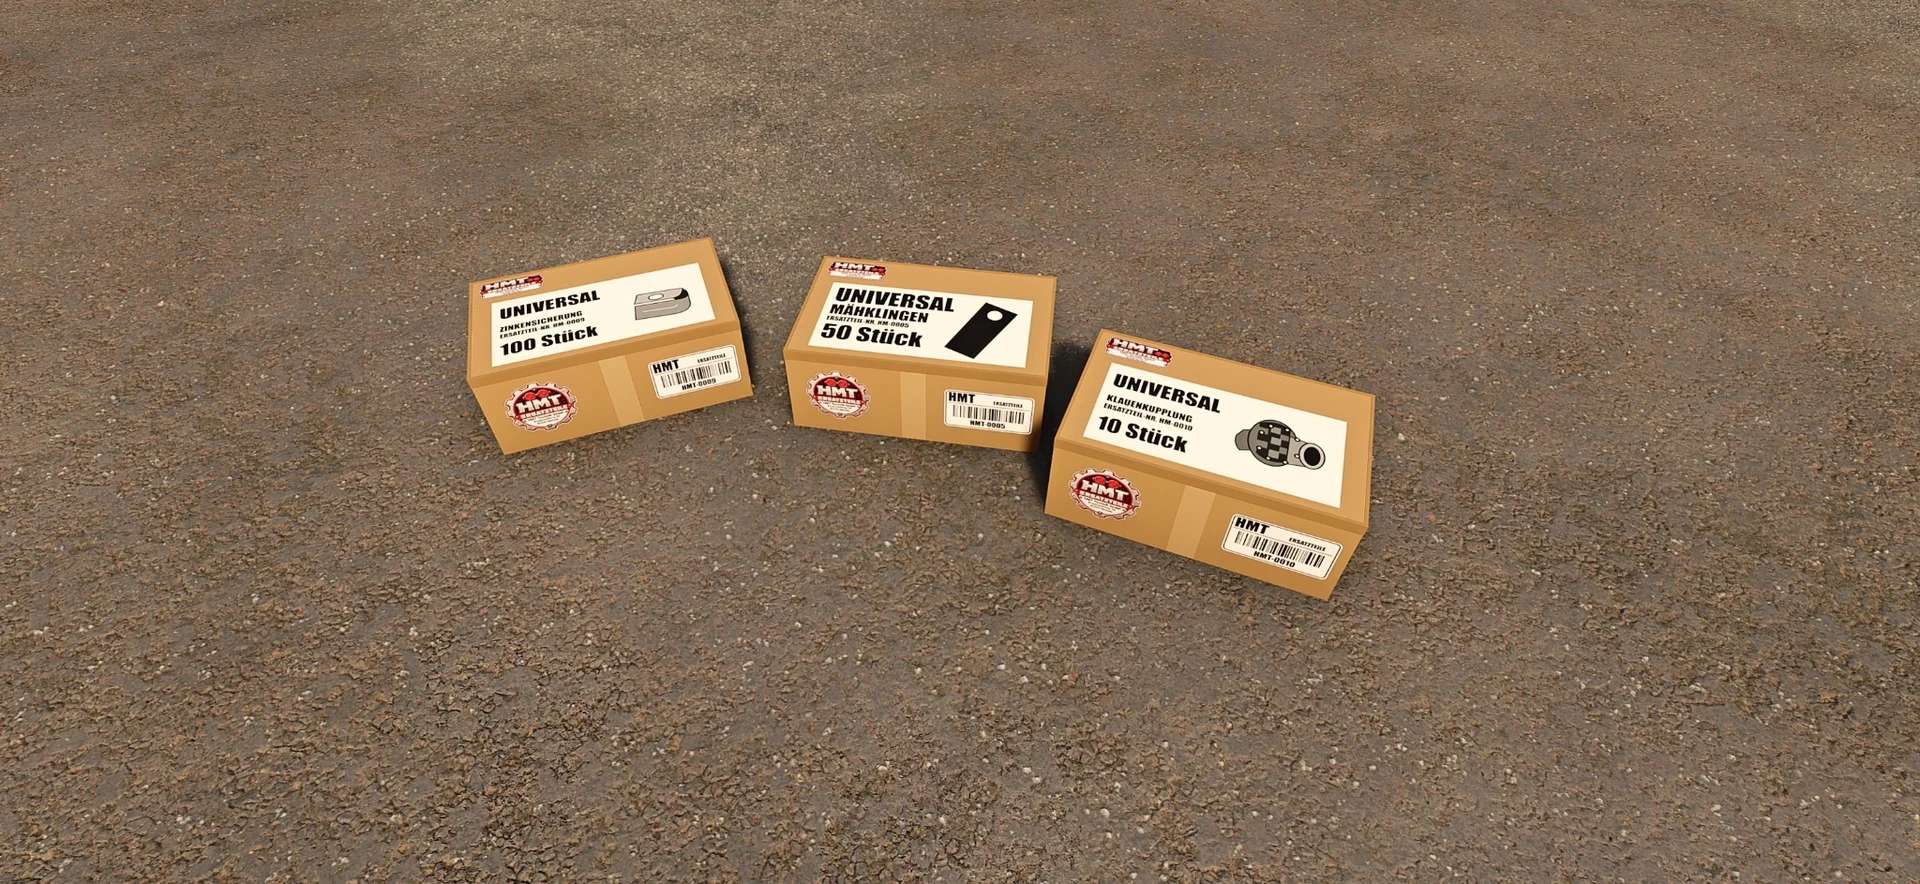
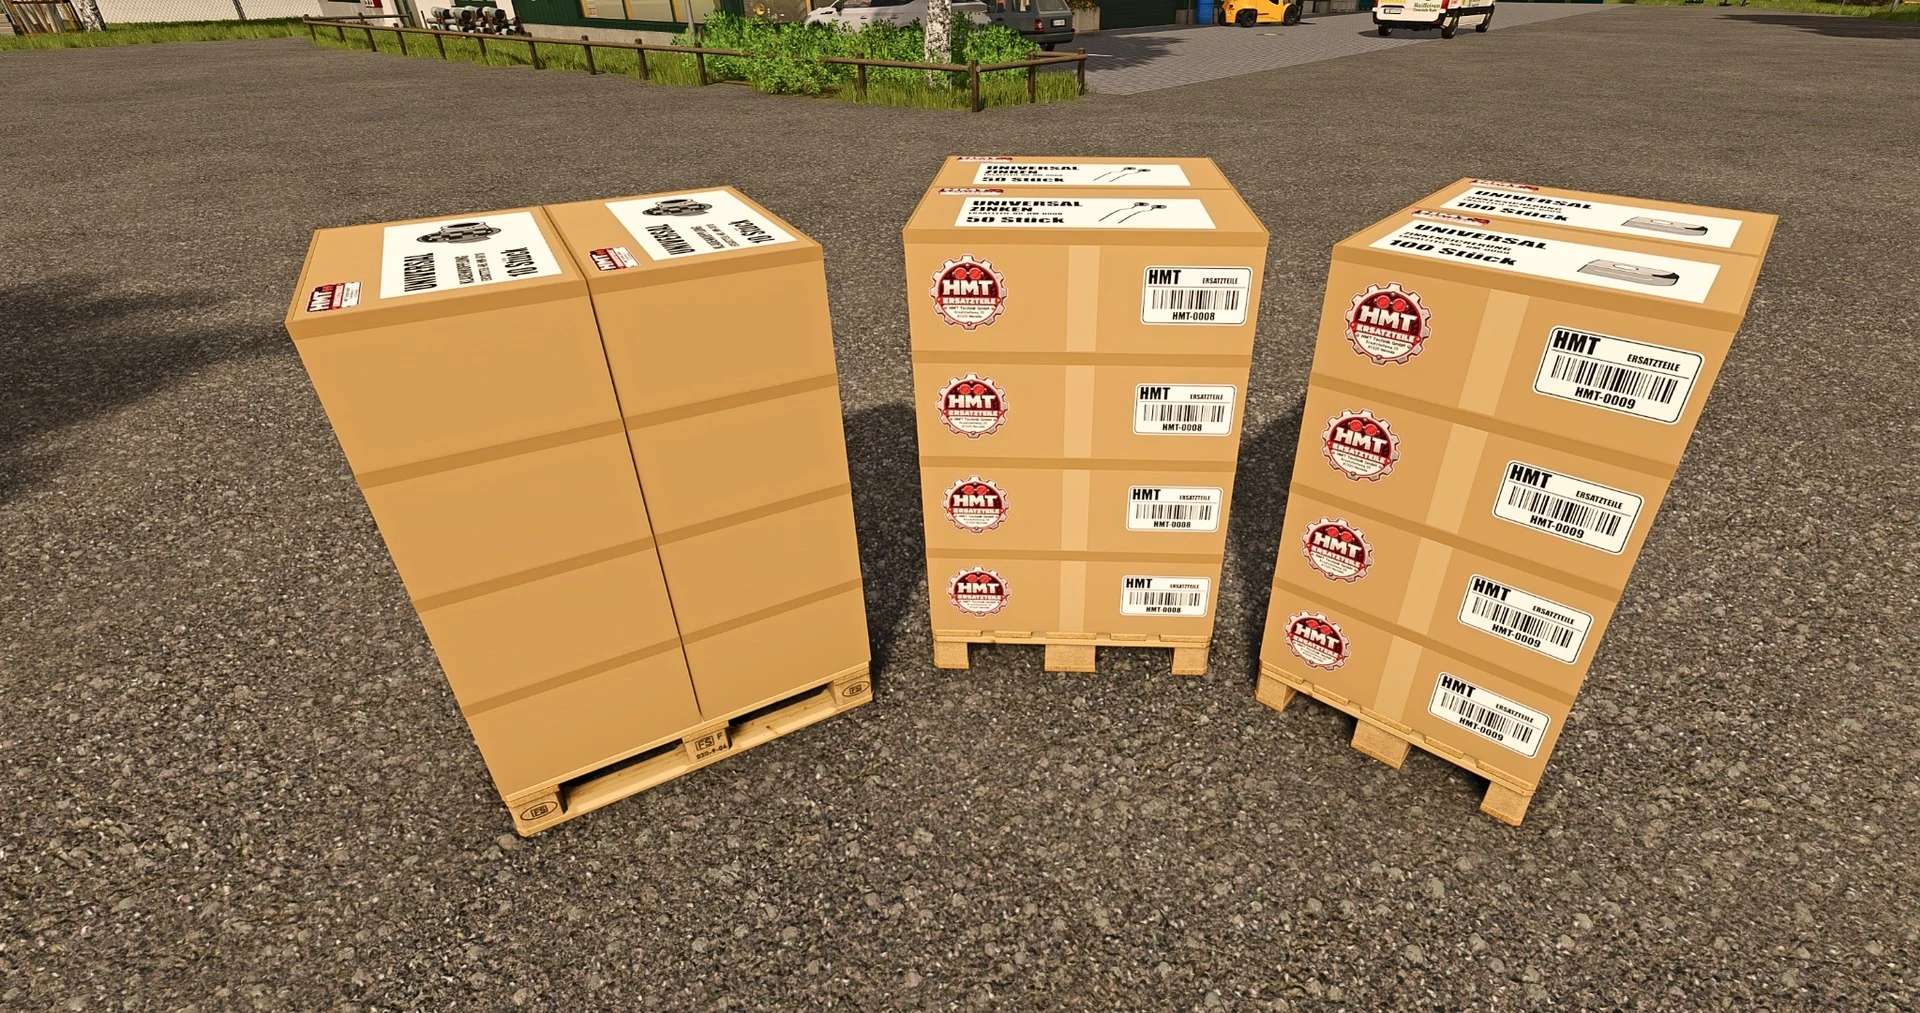
Corrected the routing of tension belts for boxes containing tines, tine retainers, and claw couplings; the belts now follow the actual shape of the boxes.
For pallets, the pallet base and the remaining boxes are now taken into account.
Maintenance, wear, the HUD, and controls remain unchanged.
Wear, overload damage, and purchasable spare parts for swathers and tedders in FS25.
Swather / Tedder Plus
Swather / Tedder Plus adds normal wear and overload damage to swathers and tedders.
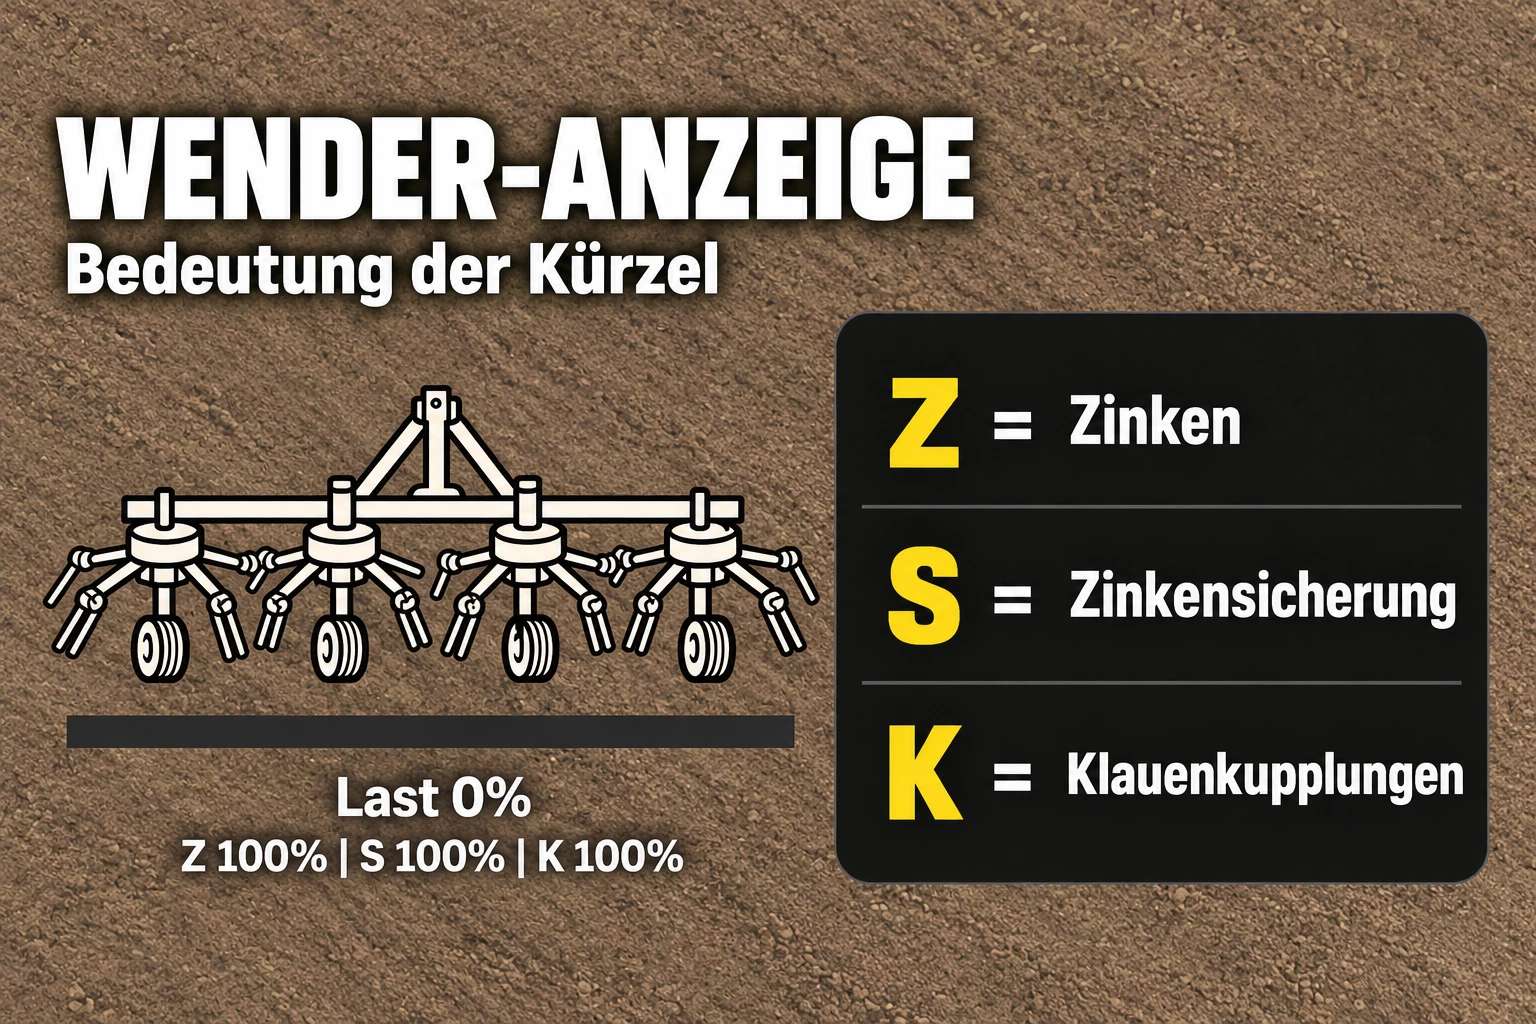
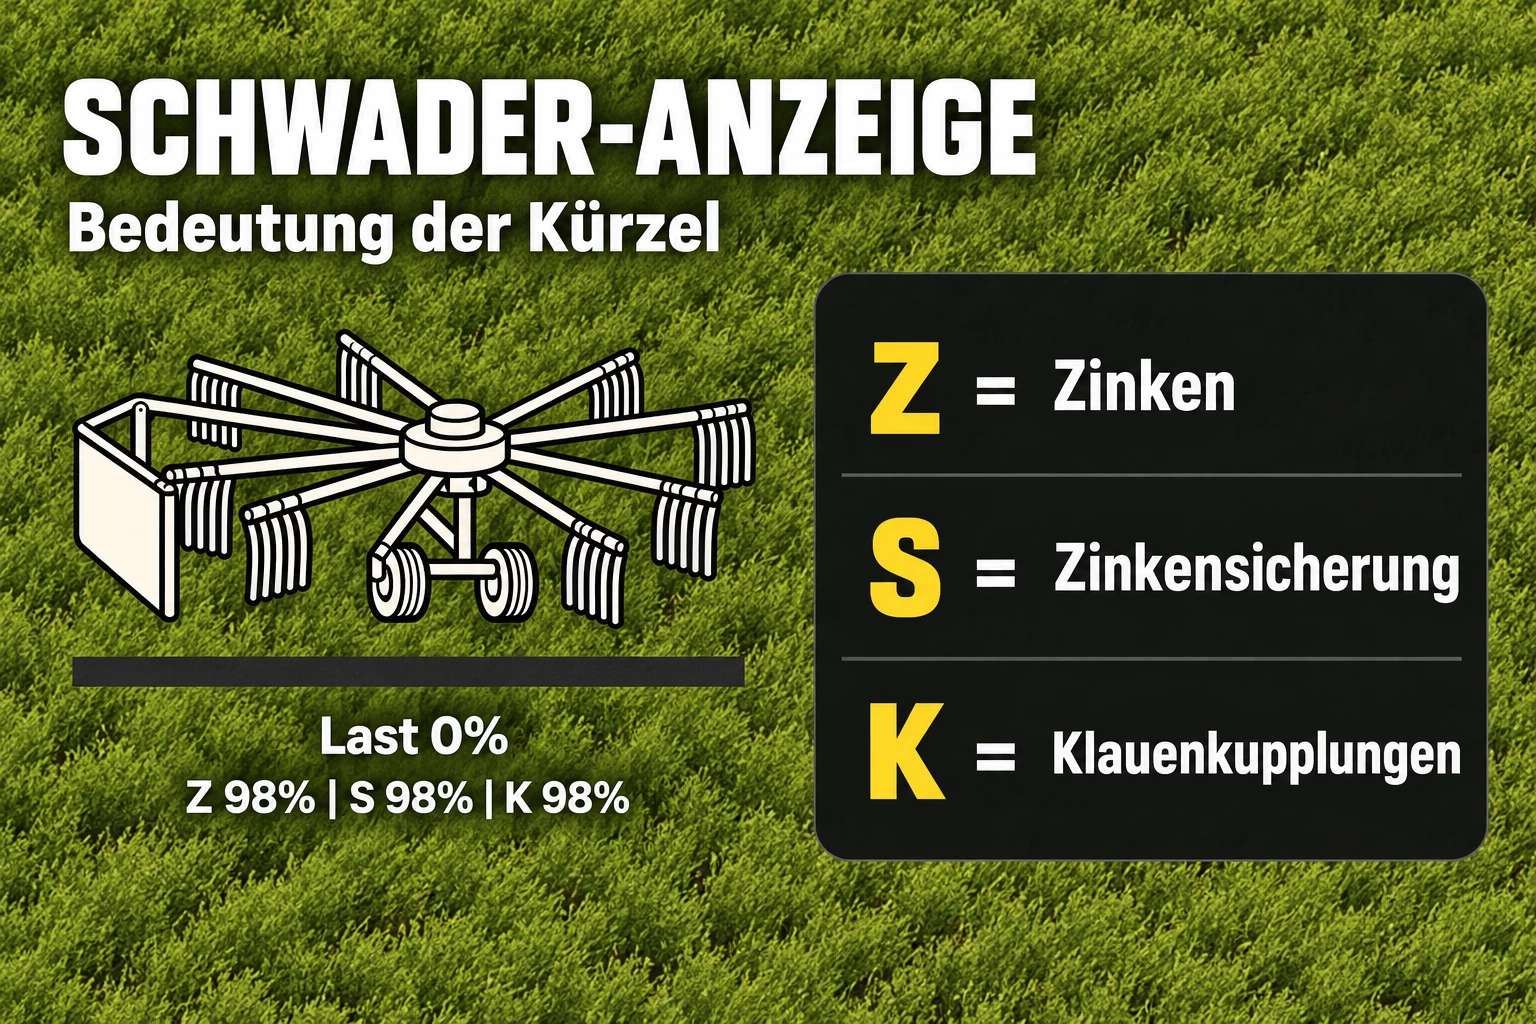
Tines, tine retainers (or safety guards), and claw couplings wear out during operation.
Excessive operational load causes additional damage.
Standard wear intervals are 10 operating hours for tines, 15 for tine retainers, and 20 for claw couplings.
For supported base-game equipment—and some modded equipment—the number of rotors and arms is detected automatically, and spare parts consumption is adjusted accordingly.
If automatic detection is not possible, the script uses predefined default values.
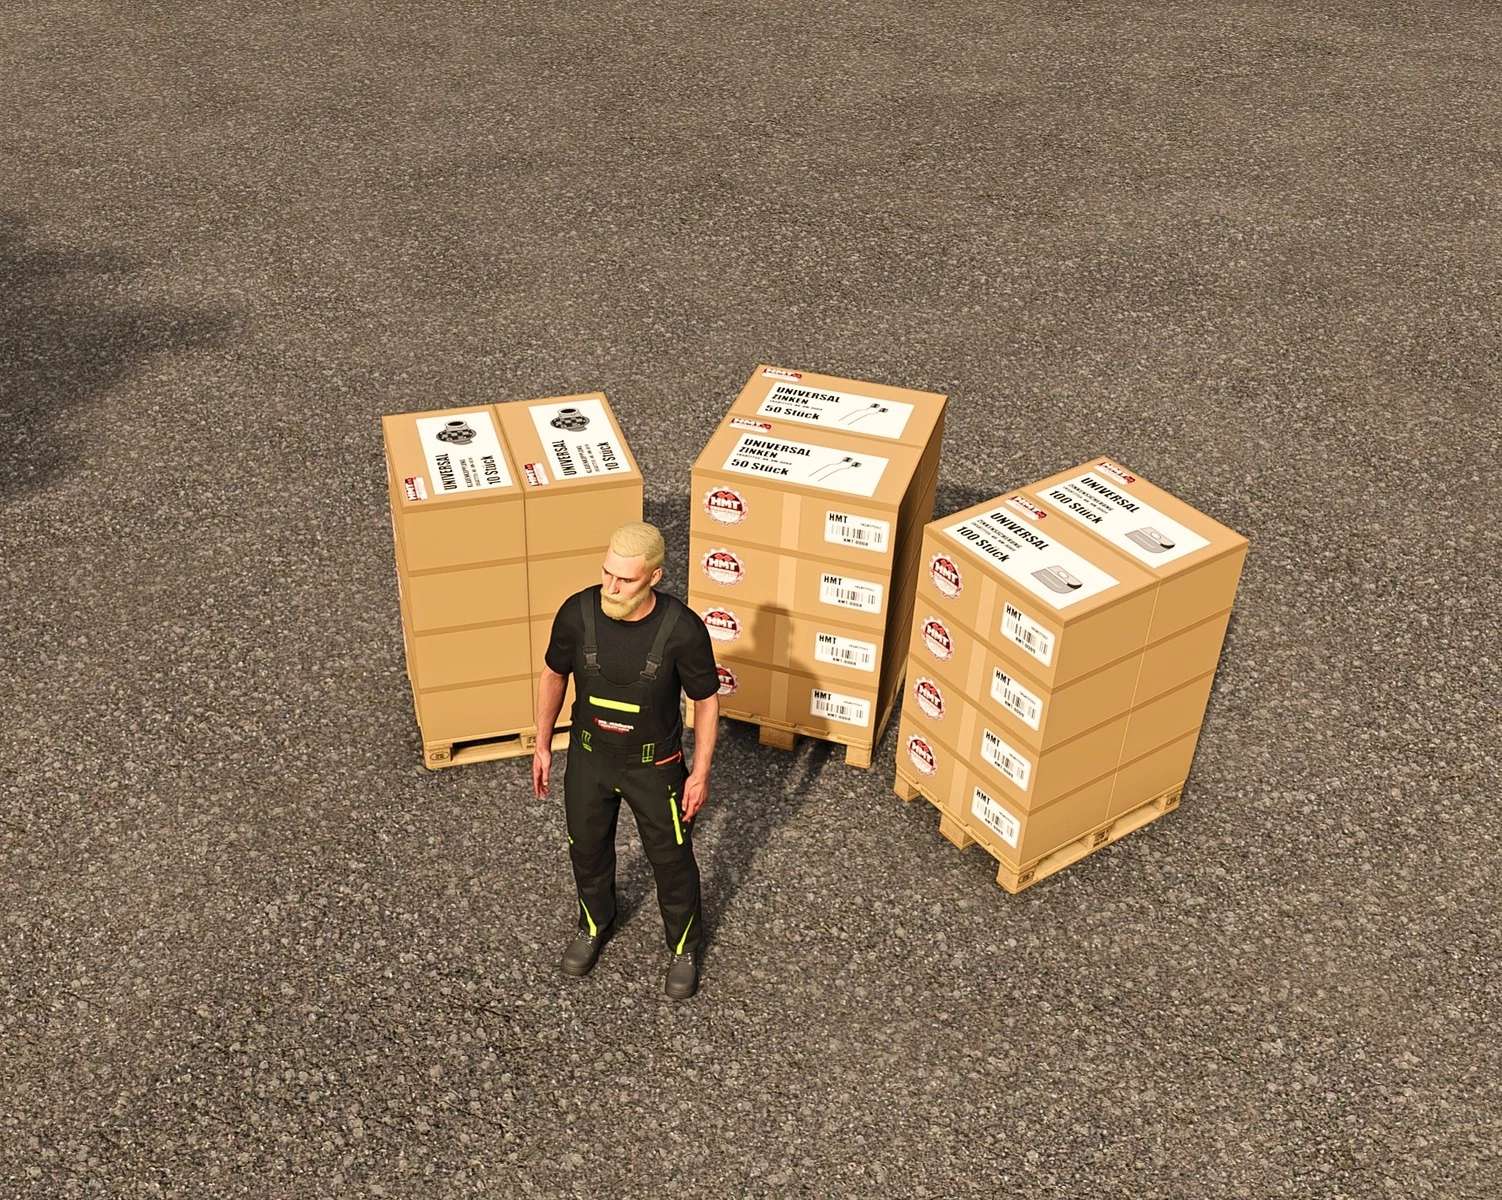
You can find the appropriate spare parts boxes in the “HMT Spare Parts” shop category.
The HUD displays the condition of the equipment. It can be repositioned, hidden, and resized. Boxes containing 50 tines, 100 tine retainers, or 10 claw couplings
Automatic detection of rotors and arms for supported implements
Adjusted spare parts consumption upon successful detection
Purchase quantities ranging from 1 to 5 boxes
Maintenance: up to version 1.1.2.2, the default key combination is Ctrl + Alt + 6; from version 1.1.2.3 onwards, Ctrl + Alt + Caps Lock is also permanently assigned
For single-player use; multiplayer is not supported
Controls (from version 1.1.2.4)
Operation takes place while in a vehicle equipped with a supported windrower or tedder. The system prioritizes the most appropriate implement; otherwise, it selects the first one detected. Please close any open menus before operating.
Default Key Bindings – HUD: Left Ctrl + Left Alt + 3: Show or hide the HUD. Left Ctrl + Left Alt + 4: Toggle move mode; drag the visible HUD by holding the left mouse button. Camera and zoom inputs are disabled while in this mode. Left Ctrl + Left Alt + 5: Cycle through HUD sizes (50% → 25% → 20% → 75% of the speedometer width).
Default Key Bindings – Maintenance (permanently assigned): Ctrl + Alt + Caps Lock: Start maintenance or clear a blockage. Pressing this key again during maintenance cancels the process without consuming any parts. Maintenance can be performed even when the HUD is hidden.
To perform maintenance, come to a complete stop and switch off the implement. For parts replacement, appropriate boxes of spare parts or pallets—belonging to the same farm and containing sufficient stock—must be located within five meters of the implement. A blockage can be cleared in eight seconds without consuming any spare parts; no parts are required for this action. Otherwise, the group of parts with the most wear—for which sufficient replacement parts are available—will be replaced within 20 seconds. Other groups can then be serviced subsequently.
Replacement parts are only consumed once the process is successfully completed. Moving or powering on the vehicle will cancel the operation; in the case of replacing parts, this also results in the loss of the required replacement parts.
Customizable Key Bindings: The three HUD actions can be freely assigned under Options → Controls. For maintenance, there is an additional, customizable action that does not have a default key binding. Existing user-defined key bindings will remain unchanged. The fixed key combination Ctrl + Alt + Caps Lock remains active regardless of these settings.
Support: For information, questions, and bug reports, please use the FBM support thread.
CVT Note: The reported issue remains open and has not yet been reproducible. Should it occur again, please provide the full `log.txt` file along with a brief description of the situation.
Author: hank_madness_[HMT]