Getting Started with the GIANTS Editor for FS25


Getting Started with the GIANTS Editor for FS25
The GIANTS Editor is the main application you will use to create mods. In the editor, you can run scripts, preview and manipulate models, and stage your creations before publishing them to the ModHub. In this chapter, we will explore the features and tools of the GIANTS Editor. Familiarizing yourself with the interfaces that mod creators work with is the first step in the path to making your own.
After reading this chapter, you will know the tools and features of the GIANTS Editor, be able to create and change the properties of objects in your mod and manage application settings.
Technical Requirements
You will need to download the GIANTS Editor and, optionally, additional software for this chapter. As such, you will need an Internet connection and web browser available to you. The minimum requirements for the GIANTS Editor and other applications are as follows:
- Farming Simulator 25
- Windows 10 64-bit
- Intel Core i5-3330 or AMD FX-8320 or better
- Nvidia GeForce GTX 660, AMD Radeon R7 265 graphics card or better (min. 2 GB VRAM, DX11/DX12 support)
- 8 GB RAM
- 35 GB free hard drive space
Installing the GIANTS Editor
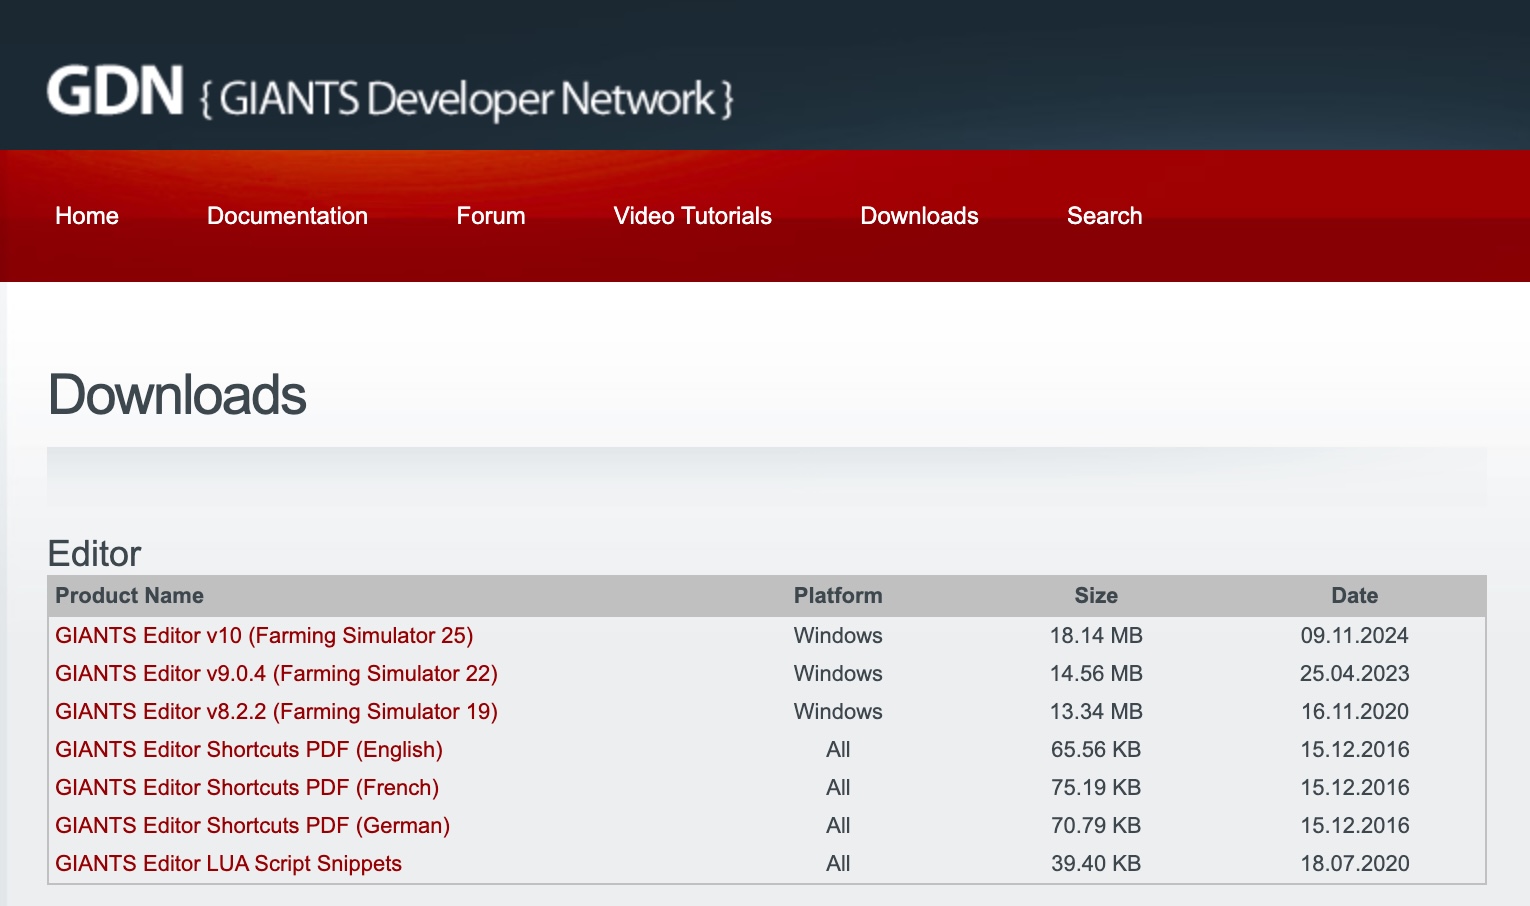
To begin this chapter, we will return to the GDN website and head to the Downloads section. If you have not already made a GDN account, you will need to do so before you can download any of the free software on your computer. When you have navigated to the Downloads page, look for the most recent version of the GIANTS Editor available for your platform and game (e.g., Farming Simulator 25). By clicking the product name, you should be prompted to download the executable for the GIANTS Editor. You can see the relevant section of the Downloads page:
Once you have downloaded the executable, run it and proceed through the steps listed in the setup wizard. When the setup tasks have been completed, launch the GIANTS Editor application, and you should be greeted by a welcome menu. That is the first step complete!
In the next section, you will learn how to navigate the GIANTS Editor.
The Viewport
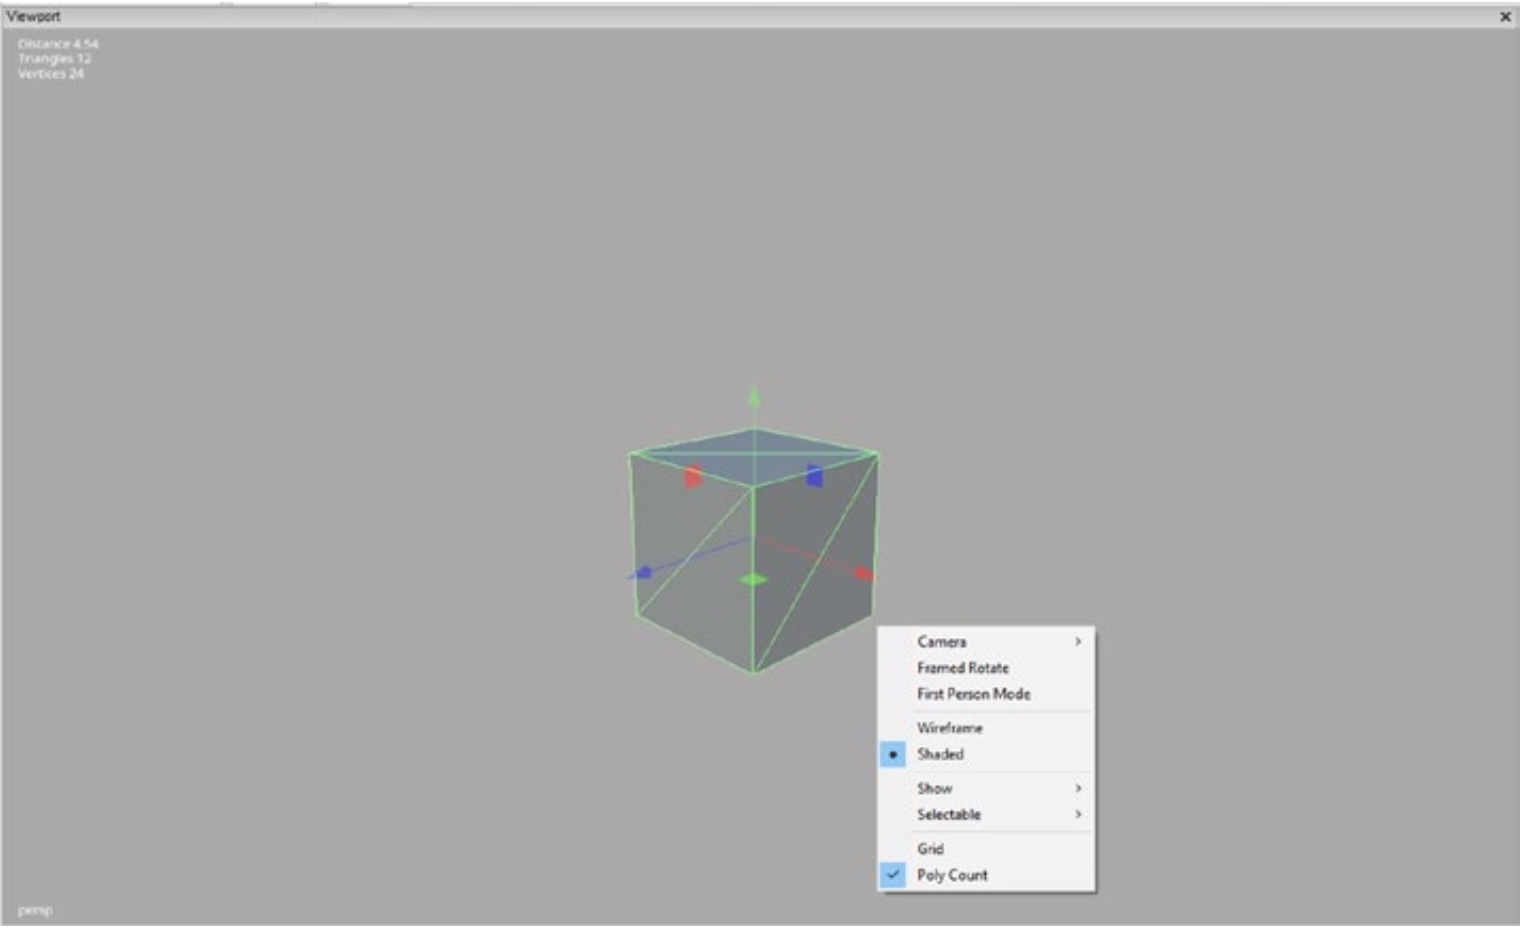
With the GIANTS Editor opened for the first time, a “Getting Started” window will pop up, showing some useful information to get help about the editor. After closing it, you should see several panels on each side of a gray space. This space, called the viewport, is where you will see the models, map elements, and any other visual part of your mod. Your viewport will not be very interesting without any objects in your scene. Let’s follow these steps to create your first object:
- Go to the Create menu at the top left of the editor window.
- Click the Cube button from the Primitives dropdown menu.
We will explore the Create menu and other application menus in greater detail in the “Application Menus” section of this chapter. For now, you should see the cube you have inserted into your scene. Your viewport should look something like what is depicted in:
Let us now look at how to examine this cube and anything else you may add to your scene.
Movement and Camera Manipulation
Manipulation of your camera in the GIANTS Editor is quite simple. Your camera will move relative to the direction you are facing while holding the right mouse button (RMB):
- The W key will move your camera forward.
- The A key will move your camera left.
- The S key will move your camera back.
- The D key will move your camera right.
- Holding the Shift key while moving your camera will cause movement to occur at a faster rate, which is convenient for moving across large areas in the scene.
If you feel that the camera is moving too fast or too slow, you can adjust the speed of the camera by pressing KEY_NUM_MINUS and KEY_ NUM_PLUS, respectively. For clarity, these are the plus (+) and minus (−) buttons on the number pad of a keyboard. The current navigation speed is displayed in the bottom-right corner of the window.
Let us now cover how you interact with objects in your scene. To select an object in your viewport, simply click the physical object with the left mouse button (LMB) or via the Scenegraph Panel, which we will cover in more detail in the “The Scenegraph Panel” section of this chapter. When you have an object selected, you can press F to bring your camera to the object. This is convenient when you have many objects in your scene and want to move your camera to one specifically.
Let us now look at some of the options available to change how we look at objects with the viewport and more.
Viewport Options
By right-clicking anywhere in the viewport, you will bring up a new menu with a list of options as seen back in viewport. Let us now look at what each of these options does.
Camera
The first option from this list is Camera, which allows you to set your perspective to any camera object within your scene. You may find this feature useful in instances where you want to test a camera object players will eventually use as part of your mod or simply to have multiple viewpoints available in different areas of your scene while in the Editor. Note that you cannot delete a camera object if your perspective is currently set to it.
Framed Rotate
The next option from the list is a toggle for Framed Rotate mode. When this option is enabled, you can move your camera around an arbitrary point in space; this is a very useful feature for examining an object in your scene. To do this, enable Framed Rotate, select an object, press the F key to bring your camera to it, zoom out, and press ALT+LMB to move your camera around its new pivot point.
First-Person Mode
This option enables a special mode that is useful for creating maps. It allows the user to walk through a map like a player using the mouse and the A, S, D, W keys for movement. Note that you should only enable this mode when editing a map as it requires a terrain object in the scene. Use the ESC key to disable the mode again.
Shading Modes
Listed after these options are two modes for viewing your scene; these two modes are called wireframe and shaded. When viewing your scene in shaded mode (the default mode), objects will be rendered (displayed) with shadows and appear as they would in the game. In wireframe mode, you will always be able to see the topology of objects in your scene and see objects through other objects. If you are unfamiliar with the process of 3D modeling, topology refers to the layout of the smaller 3D components that make up your model, often called polygons or tris (triangles).
Show and Selectable
Following these viewing mode options are options for what objects you can see and interact with in your scene. The first Show option includes a dropdown menu and a list of object types that are shown only when enabled. Similarly, the Selectable option also produces a dropdown menu where you can choose which types of objects you are able to select with your mouse in the viewport. These settings are convenient when you are working in complex scenes and want to filter only for the types of objects you want to interact with.
Grid
The Grid option shows a grid with 1×1 squares when enabled. The grid can help to give you a frame of reference when creating your scene when terrain is not present as well as keeping objects aligned.
Polycount
Lastly, the Polycount option when enabled will show you additional information about objects you are selecting. This relates back to what you are able to see in the wireframe viewing mode. Because of how computer processing works, the lower the polycount of an object, the less computationally expensive it is to render.
In the following section, we will learn how objects in your scene are structured and how to navigate them all most efficiently.
The Scenegraph Panel
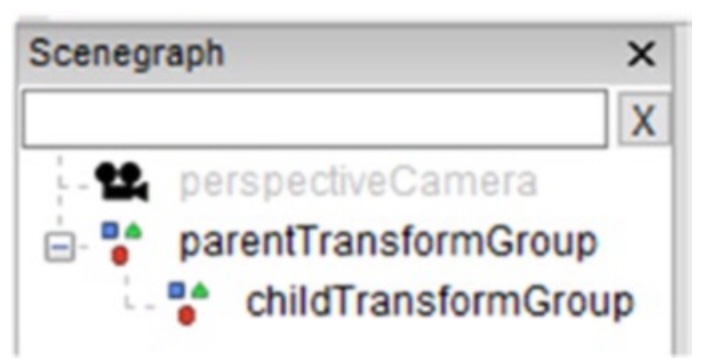
As previously mentioned, the Scenegraph Panel is an important menu that allows you to see all of the objects in your scene. This will become important when you begin programming as you will need to refer to objects in your scene, and this reference will be based on the organization of objects in your scene. You can see how your Scenegraph Panel might look when there are multiple objects in your scene:
You may notice some objects in Scenegraph seem to be a list under another object. This descent is related to how objects are organized in the GIANTS Editor. Let us now explore what this hierarchy is called and how to navigate it.
Entities and the Parent-Child Hierarchy
In the GIANTS Editor (and many other applications like it), objects are stored in what is called a parent-child hierarchy. A parent-child hierarchy is one where an object is stored inside of something (its parent) and the object is the child to its parent. Each object in the engine is an entity with a unique ID used to access it. Please keep in mind that this ID is not persistent and can change on every game or editor startup. An entity can be a TransformGroup, a shape, a camera, etc. The entity type defines a feature set for the object. For example, a camera entity can be used as a viewport camera, a Shape entity has special functions like materials, and Transform entities can be used in the parent-child hierarchy and have a position in the world.
Looking at the Scenegraph below, you can see three objects: the Scenegraph, a Camera object named perspectiveCamera, and two Transform Group objects named parentTransformGroup and childTransformGroup. In the GIANTS Editor, the Scenegraph is always at the top of the parent-child hierarchy; that is, any objects in your scene are a descendant of the Scenegraph. In this example, perspectiveCamera and parentTransformGroup are direct descendants of the Scenegraph or its children. The Transform object named childTransformGroup is the child of parentTransformGroup; you can alternatively say that childTransformGroup is parented to parentTransformGroup:
We have finished this part of the tutorial. In the next session of the tutorial, we will look at the application menus of the editor. So subscribe to us to get the latest modding tutorials.
Author: Zander Brumbaugh, Manuel Leithner